


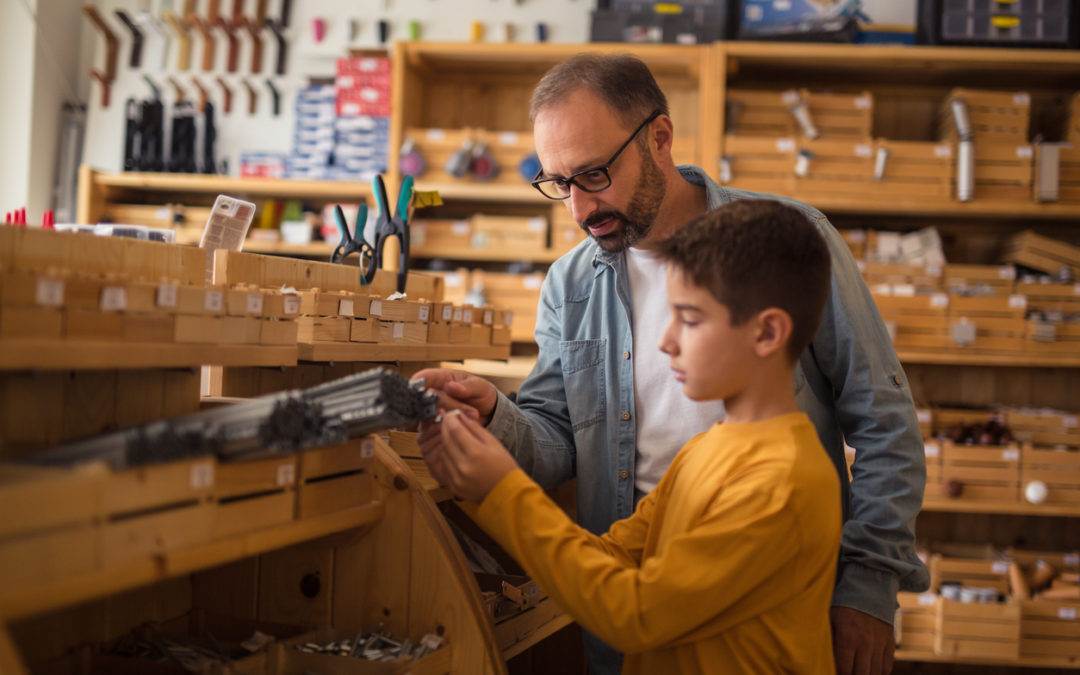
Hardware stores are a fun place to visit with children in tow and Clarks Ace Hardware is one of the best around. As you and your kids are browsing the aisles, keep an eye out for items you can use for your next kid-friendly DIY project. You’re sure to find plenty to inspire you! To get you started, here are five fun DIY projects geared toward children.
Nuts & Bolts Cars
Your kids will have lots of fun assembling their own unique cars with short chunks of tree branch*, pairs of bottle caps in assorted sizes, bolts with matching nuts, and Shaker pegs.
TOOLS: A drill with regular and spade bits, a clamp, and a small wrench to tighten the nuts
Choose tree branches that are at least 1″ in diameter and as straight as possible. Cut the tree branches into 4″ to 5″ chunks and clamp them firmly in place on a workbench or counter. Drill a hole the diameter of your bolts all of the way through about 3/4″ from each end.
Rotate the pegs 90° and drill two holes about an inch apart in the center of the wood using a spade bit the same diameter as the base of the Shaker pegs. The pegs should fit snugly into the holes but be easy to remove.
Drill a hole the same diameter as your bolts in the center of each bottle cap.
*If you can’t find suitable branches, use dowels as a substitute. Just be aware that hardware dowels may be harder to drill through than tree branches, especially if they’re from softwood trees like pine.
Bird Feeder DIY Projects
Your kids will enjoy building this hanging terracotta bird feeder using a plant pot and a couple of oversize terracotta saucers. While you’re at the Columbia tool store picking up the pot and saucers, pick up the stainless steel hardware and other supplies you’ll need to assemble it too.
What You’ll Need:
- Deep tub for soaking terracotta
- Terracotta plant pot (either a 6″ orchid pot or an 8″ regular pot)
- Adhesive epoxy (E6000)
- Terracotta plant saucer (10″)
- Threaded rod (12″ / ¼ - 2)
- Lock nut (1/4″)
- Fender washers, 3 (¼ × 1½”)
- Decorative steel lamp finial
- Terracotta plant saucer (8″)
- Wing nut (¼ x 20)
- Coupling nut (¼ x 20)
- Eye bolt (1/4 x 2″)
- Birdseed
TOOLS: Drill, masonry drill bits (1/4″ plus 3/8″ if you don’t use an orchid pot), crescent wrench (7⁄16)
A specialty orchid pot already has drainage holes in the sides. To save money, you can soften an ordinary pot in water overnight along with the saucers and drill your own holes using the 3/8″ bit. A regular pot is also taller, which will encourage larger birds like Northern Cardinals to visit these DIY projects.
The project video clearly explains how to assemble everything. Just remember to only use stainless steel hardware to protect from rust. Also, reverse the positions of the saucers in order to protect the birdseed from rain.
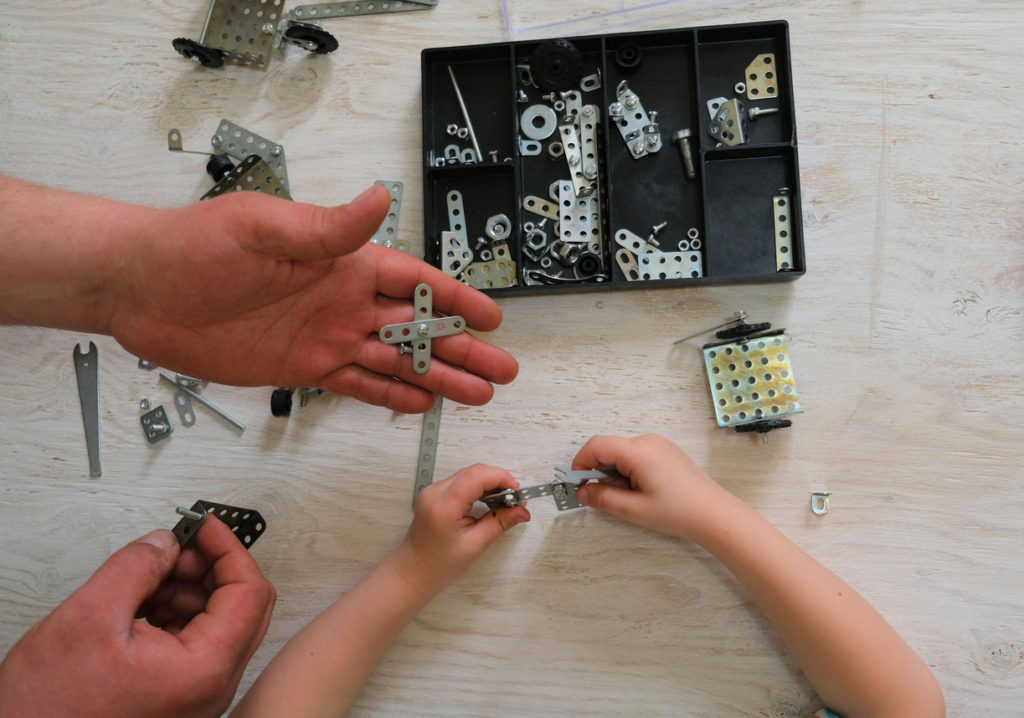
Robot Fob
Your kids can create a cute robot fob for a backpack or just for fun by assembling an assortment of wing nuts, washers, nuts, and a U-bolt with a mounting plate onto a bolt. Attach a split ring to the U-bolt using a small piece of chain and a snap hook.
TOOLS: You may need a pair of pliers to tighten the bottom wingnut snuggly so your child’s new robot friend doesn’t come apart as it’s handled. A drop or two of Super Glue under that wingnut will ensure it stays put. A permanent marker will add character to the face.
Starting at the top, thread on a couple of nuts for the hat, followed by the U-bolt with mounting plate, a large washer for the brim of the hat, and a large nut for the head (add facial details with a permanent marker first), a tri-groove nut for the neck, a wing nut for the upraised arms, a couple more nuts for the body, and a second wing nut (reversed) for the legs.
Thread one end of the chain onto the snap hook and the other end onto the split ring. Attach the snap hook to the U-bolt at the top of the robot’s head and it’s done! The larger the selection of hardware you provide, the more creative your kids will get. You might be surprised at the array of robots they will produce!
Printing DIY Projects With Hardware
An assortment of nuts, bolts, and especially screws plus the right kind of paints will make colorful handmade paper to use for fun gift wrap or cards.
TOOLS: Recycled flat plastic ‘paint tray‘, sponges, large sheets of paper, disposable gloves
Cover your workspace with a thick layer of newspaper and lay the large sheets of paper you’ll be painting on top. Cut the sponges into small squares, dampen them, and squeeze the excess water out. Add a good dollop of one color of paint onto each of the sponges and rub it in while wearing disposable gloves. Once the sponges have soaked up the paint, your kids can get started stamping.
The bolts make great handles for the nuts when they’re only screwed on a little bit, while the screws have their own built-in handles. Old clothes or smocks and a damp cloth for wiping hands will help protect good clothes plus keep down the mess. Once the paper dries, it can be cut into cards or whole sheets can be used as gift wrap.
Nuts and Bolts Matching Game (For Toddlers)
Do you have a toddler who is learning their colors and no longer puts things in their mouth? Then this color matching game is perfect for them! It consists of large bolts with matching washers and nuts. Several colors of spray paint will add to the fun and help with color identification. This project is a great way to introduce your toddler to the wonders of the hardware store!
TOOLS: A cardboard box and a dowel covered with foil (to protect it from the paint — you can skip the foil if you don’t care about overspray on your dowel)
Spray paint each set of bolt, washer, and nut a different color. Leave one set unpainted. Have your child identify the colors and sort the hardware into sets. Then show them how to thread the washers and nuts onto the matching bolts. Threading and unthreading the bolts and nuts is great for their fine motor skills. Once they’ve mastered the skill, it will keep them happily occupied while you’re doing something else.
You can expand the game by adding more sets in different colors and even sizes as they get a little older. Just don’t choose any that might be small enough to choke on.
Find More DIY Projects to Do With Your Kids
CLARKS ACE HARDWARE
Ellicott City
10325 Baltimore National Pike
Ellicott City, MD 21042
Recent Comments