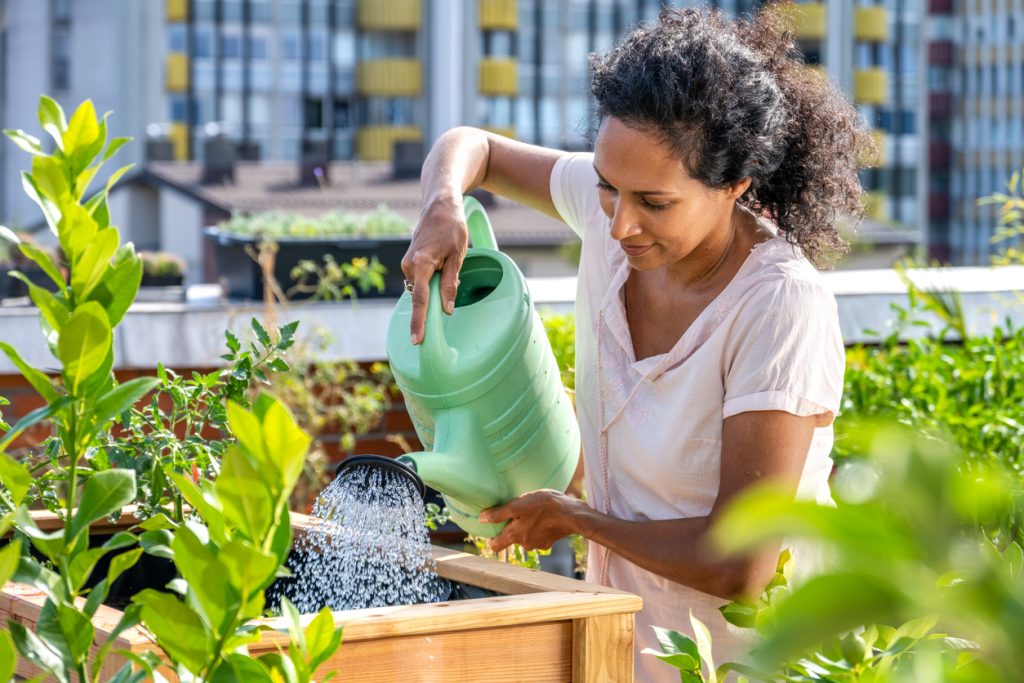
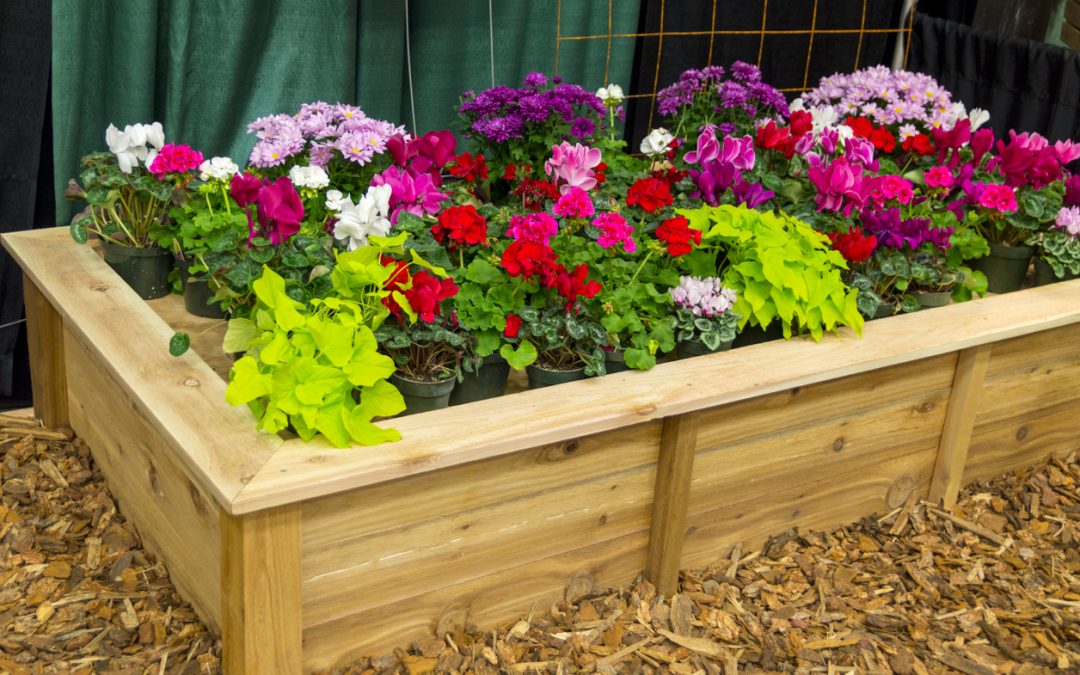
A planter box makes a charming addition to any patio or garden. It will add beauty and functionality to your outdoor space. If you’re new to gardening, or if you already have a green thumb, building your own planter box can be fun and rewarding. In this article, we’ll outline the six basic steps to building a planter box. Along the way, we’ll provide you with tips and tricks to make the most of your creation. By the end, you’ll have a functional creation for showcasing your favorite flowers, herbs, or vegetables while also enhancing the appeal of your outdoor living area.
Step 1: Determine the Size and Design of Your Planter Box
The first step to building a planter box is deciding how big to make it. A number of factors can go into this decision. An important one is the available space. If you’ll be placing your planter on the patio, you have to make sure that it’ll fit, and that it won’t take up too much room for enjoying other things.
The available space also plays a role in the design choices. A rectangular or square box is the most space-efficient. For smaller patios, this makes an ideal shape. With more room to work with, you’re more free to explore more intricate designs.
Speaking of design, deciding on one is the final step in the planning phase. Planter boxes can be made from various materials, including wood, plastic, or even other containers that have been repurposed. Which of these materials fits your skill level and desired aesthetic best?
If this is your first project, repurposed containers make for easy assembly. The next easiest option is a wooden planter with an angular shape. When deciding, think of what will best fit your patio’s existing décor.
Step 2: Gather the Necessary Materials and Tools
With the design phase out of the way, it’s time to get ready to build your planter. Gather all the tools and materials you’ll need ahead of time. This ensures you won’t be halfway through the project only to find you can’t finish it because you forgot something. Also, the specific items you needed to build your planter will depend on your design. Some common materials and tools required for building a planter are listed below. Materials:
- Wood planks or boards
- Screws or nails
- Lining material (landscape fabric or plastic sheeting)
- Potting soil
- Plants or seeds
Tools:
- Measuring tape
- Saw
- Drill
- Screwdriver or hammer
- Sandpaper
- Staple gun or nails
You can find most of these materials at your local hardware store or you can repurpose items from around your house. If you’re going for a rustic look, reclaimed wood is a great aesthetic choice and is also eco-friendly.
Step 3: Cut and Assemble the Planter Box
Finally, it’s time to start construction! With materials and tools in hand, you’re ready to cut the wood (or whatever material you’ve chosen) and assemble the box. Remember the old adage; measure twice, cut once. It’s easy to measure incorrectly and make a cut that’ll ruin your material and send you back to the hardware store for more. Be extra careful to ensure that the adjacent sides of the planter are equal in size and that the bottom piece is big enough to fit securely.
With the pieces cut, it’s time to begin assembly. Start by attaching the sides together. With wood as a material, screws or nails make the sturdiest structure, although wood glue can be used if you’d like. Even if you use nails or screws, a little wood glue in the joints can help reinforce the structure. For other materials, some form of glue or epoxy may be your only choice.
At this point, the planter is likely to be rough, and may even have splinters. Finish off this step by sanding the surfaces and edges to smooth them out and applying a weather-resistant sealant or paint to the exterior.

Step 4: Add Drainage Holes and Lining
Plants need water. They also need that water to drain properly. To ensure the plants you grow in the planter stay healthy, you need to add drainage holes to your planter box. Drill several holes in the bottom piece of the planter to allow excess water to escape and prevent root rot.
With the safeguards in place to ensure the plants don’t get too much water, let’s make sure they get enough. Line the interior of the planter box with landscape fabric. This will help retain the moisture, keeping both the soil and plants healthy while also allowing the excess to drain through the drainage holes. Secure the lining to the planter box with staples or nails.
Step 5: Fill the Planter Box and Plant Your Selections
With the structure complete, you can get ready to plant your selections. First, fill the box with nutrient-rich potting soil. Choosing a high-quality potting mix that’s compatible with the types of plants you want to grow will give them the best conditions to thrive in. Once filled, it’s time to plant your selections.
Choose plants that grow well in your local climate and match your gardening preferences. You can plant colorful flowers, fragrant herbs, or fresh vegetables. As you place them, arrange the plants according to their recommended spacing and planting depth. You can get all the supplies you need, as well as advice on which plants will grow well in your area at your local garden center.
Step 6: Maintenance and Care
To ensure the longevity and health of your planter box, you’ll need to provide proper maintenance and care. The tips below will get you started. Be sure to look at any special care instructions the plants you decided to grow may have. Different plants prefer different types of fertilizer, for example.
- Regularly check the moisture levels of the soil and water your plants accordingly.
- Be mindful not to overwater or let the soil dry out completely.
- Monitor the growth of your plants and trim or prune them as needed.
- During extreme heat or cold, move your planter to a sheltered area to keep the plants safe.
Get What you Need at Clarks Hardware
Clark’s Ace Hardware has the materials and tools you’ll need to craft the perfect planter box. We also have a fully stocked garden center that can set you up with the supplies you’ll need to put it to use. Visit one of our convenient locations:
CLARKS ACE HARDWARE
Ellicott City
10325 Baltimore National Pike
Ellicott City, MD 21042


Recent Comments